Roden Blitz Omni Bus Stabswagen Opel 3.6-47 kit 723
Having put the Blitz Aero together in a day, and having enjoyed it so much, I decided it was time to build another bus. I will refer to this one as a Staff Bus, as the kit title is rather a mouthful.
About the bus. According to the information with kit these were used in all theatres of operation. It was in effect a kind of mobile office or command centre. Pictures, plans and information about all the Opel Bus types can be found on Piet Van Hees very useful site http://www.pietvanhees.nl/blitzbus/
About the kit. This kit shares many sprues with the Roden Opel Blitz W39 bus. Chassis is identical. Body is identical. The main difference is the inside furnishings which consist of tables, shelves benches, a radio, enigma machine (or perhaps its a typewriter). This version also has additional wooden decking on the roof, and etched roof racks, much longer than that which the standard bus was fitted with.Etch covers for the side windows are also supplied.

About the build. As this kit has so much interesting internal detail, I decided to open both the front side doors, and the large rear door, cutting these out carefully with a fresh exacto blade. Despite this not much of the interior will be visible, but it will make the vehicle look much more interesting. I was going to thin down the cut out doors, but period photos show the doors were quite thick. Unlike a tank hatch which is solid metal and comparatively thin, the doors on these vehicles had an outer and inner covering, being essentially hollow in the middle, so were quite thick.
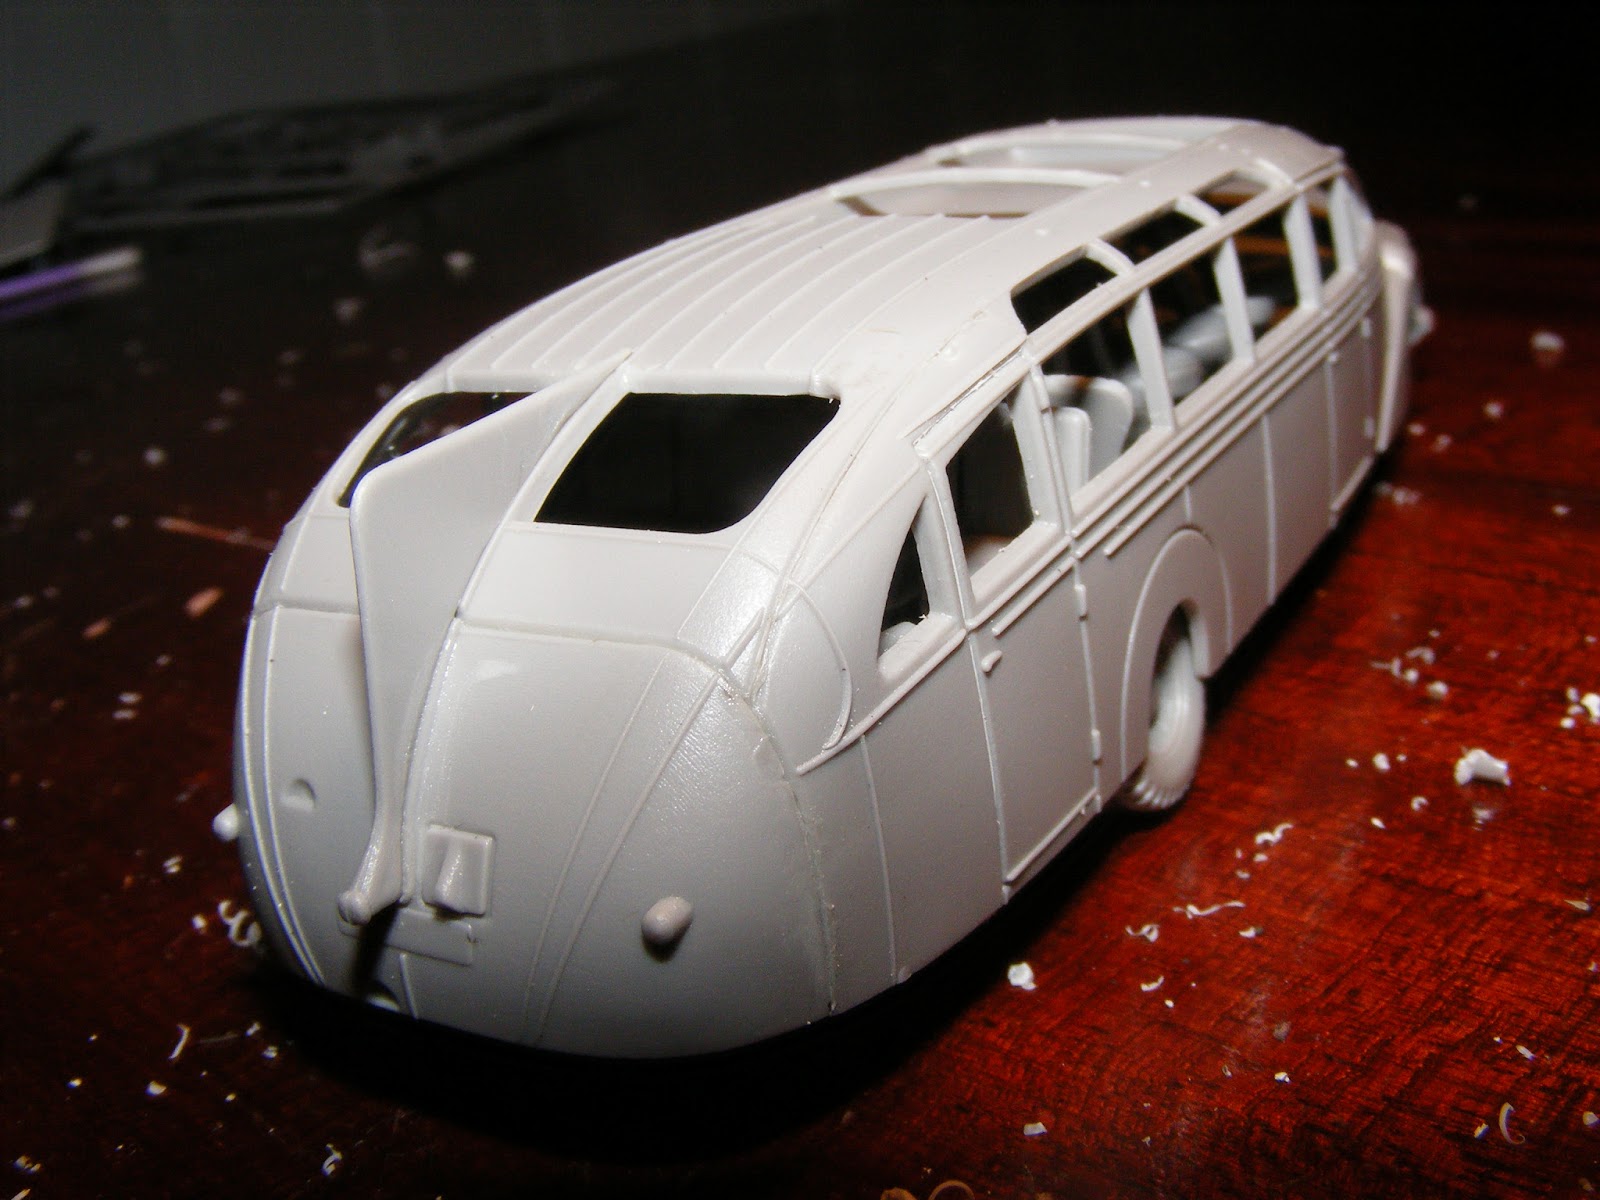
Below are test fits of the floor/chassis to the body, so far all are good fits.


Update Saturday 11 May. I have to admit this is a very enjoyable build. I decided it would be easy enough to build this one so that the body can be removed to show the interior detail, so decided to improve the interior a bit. I won't be going crazy on interior detail, just some improvements. I started with the floor.
Period photos show that wooden slats of a pallet like construction were laid over the much of the floor of these buses. Wood was plentiful, and timber slats would have been cheap to manufacture and to fit, and add very little to the weight of the bus. Non slip metal tread plate would add to the weight of the bus and be more expensive. Rubber mats would have been in short supply and would wear out quickly in rough conditions on operations. The timber slats would have been assembled in sections and would have been removable when needed for cleaning and maintenance. The wood slats would have dealt well with wet and muddy conditions, the water and mud being trapped in the gaps between the slats.
First job was to fill the holes where the seats would go (the floor in the kit is same as the standard Opel bus) I used 0.010" x 0.020" & 0.020" x 0.020" evergreen strip styrene (Item 100 & 120) glued to the floor. Not a hard job, but took an evening while watching/listening to TV to provide some distraction for the mind while working on what is otherwise a slightly boring task.


I also decided to not use the etched roof rack. It looks reasonably OK, though a bit too flat for my taste.
I built a roof rack out of 0.020" Evergreen Rod (Item 218). I drilled holes in the roof for the supports, and simply cut the lengths to fit and glued them. Not hard but requires accurate measuring and cutting and is quite time intensive, it took a few hours. To get curves I simply rolled the rod around items of varying diameters to get tighter or larger curves as required. Items such as pens, screwdriver shafts etc. The rod is quite thin which makes it quite flexible and very adaptable to being curved.


TO BE CONTINUED....................................
Having put the Blitz Aero together in a day, and having enjoyed it so much, I decided it was time to build another bus. I will refer to this one as a Staff Bus, as the kit title is rather a mouthful.
About the bus. According to the information with kit these were used in all theatres of operation. It was in effect a kind of mobile office or command centre. Pictures, plans and information about all the Opel Bus types can be found on Piet Van Hees very useful site http://www.pietvanhees.nl/blitzbus/
About the kit. This kit shares many sprues with the Roden Opel Blitz W39 bus. Chassis is identical. Body is identical. The main difference is the inside furnishings which consist of tables, shelves benches, a radio, enigma machine (or perhaps its a typewriter). This version also has additional wooden decking on the roof, and etched roof racks, much longer than that which the standard bus was fitted with.Etch covers for the side windows are also supplied.
About the build. As this kit has so much interesting internal detail, I decided to open both the front side doors, and the large rear door, cutting these out carefully with a fresh exacto blade. Despite this not much of the interior will be visible, but it will make the vehicle look much more interesting. I was going to thin down the cut out doors, but period photos show the doors were quite thick. Unlike a tank hatch which is solid metal and comparatively thin, the doors on these vehicles had an outer and inner covering, being essentially hollow in the middle, so were quite thick.
Below are test fits of the floor/chassis to the body, so far all are good fits.
Update Saturday 11 May. I have to admit this is a very enjoyable build. I decided it would be easy enough to build this one so that the body can be removed to show the interior detail, so decided to improve the interior a bit. I won't be going crazy on interior detail, just some improvements. I started with the floor.
Period photos show that wooden slats of a pallet like construction were laid over the much of the floor of these buses. Wood was plentiful, and timber slats would have been cheap to manufacture and to fit, and add very little to the weight of the bus. Non slip metal tread plate would add to the weight of the bus and be more expensive. Rubber mats would have been in short supply and would wear out quickly in rough conditions on operations. The timber slats would have been assembled in sections and would have been removable when needed for cleaning and maintenance. The wood slats would have dealt well with wet and muddy conditions, the water and mud being trapped in the gaps between the slats.
First job was to fill the holes where the seats would go (the floor in the kit is same as the standard Opel bus) I used 0.010" x 0.020" & 0.020" x 0.020" evergreen strip styrene (Item 100 & 120) glued to the floor. Not a hard job, but took an evening while watching/listening to TV to provide some distraction for the mind while working on what is otherwise a slightly boring task.
I also decided to not use the etched roof rack. It looks reasonably OK, though a bit too flat for my taste.
I built a roof rack out of 0.020" Evergreen Rod (Item 218). I drilled holes in the roof for the supports, and simply cut the lengths to fit and glued them. Not hard but requires accurate measuring and cutting and is quite time intensive, it took a few hours. To get curves I simply rolled the rod around items of varying diameters to get tighter or larger curves as required. Items such as pens, screwdriver shafts etc. The rod is quite thin which makes it quite flexible and very adaptable to being curved.
TO BE CONTINUED....................................